
The chipping hammer is used to remove slag from a weld bead after arc welding, especially in stick welding (SMAW) and other slag-forming processes. That is the direct answer most searchers want, and it matches how welding-focused sources explain the tool: it breaks away the hardened slag and helps expose a clean weld surface for inspection and any needed additional passes.
If you have ever searched “in arc welding process chipping hammer is used to”, you were probably looking for a short exam answer. But in real shop work, the role of a chipping hammer goes beyond a one-line definition. It is part of post-weld cleanup, it helps reveal the true condition of the weld, and it works best when used with the right technique and the right companion tools, such as a wire brush.
This article gives you both: the quick answer and the full practical explanation. You will learn what a chipping hammer does, why slag must be removed, when to use it, when not to use it, how to avoid damaging the weld while chipping, and how it compares with tools like a wire brush, grinder, or needle scaler. Where the broader SERP gets confusing, I will also clarify the difference between a welding chipping hammer and the masonry/construction meaning of the same term.
What a Chipping Hammer Does in Welding
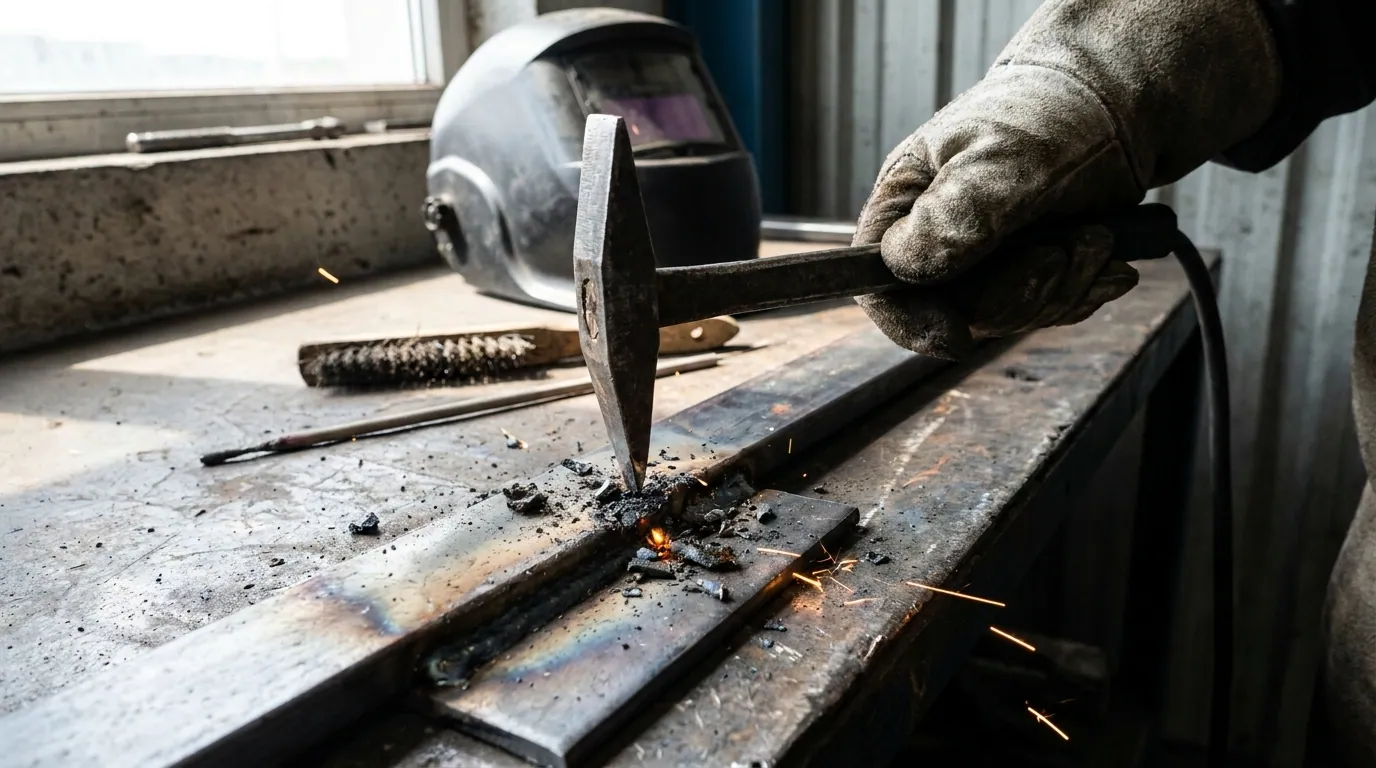
In welding, the function of a chipping hammer in arc welding is simple but important: it is used to strike and break away slag that forms on the surface of the weld bead. One source defines it as a tool used in welding to remove slag from a finished weld, and another explains that the main purpose of a chipping hammer is to remove the layer of flux residue on the weld bead so the clean weld underneath can be seen.
That matters because slag is not just dirt sitting on top of the weld. In SMAW and FCAW, it is part of the welding process. It forms as the weld cools, and once it hardens, it must be chipped away so you can check bead shape, look for visible issues, and prepare the joint for the next step. If you leave it in place, you are not really looking at the weld itself. You are looking at a layer that hides it.
A good way to think about it is this: the weld bead is the work, but the chipping hammer helps you see the result of that work clearly. That is why it is often treated as a basic welding hand tool rather than an optional extra. For beginners, that is also the key to understanding the phrase “the chipping hammer is used to”: it is used to remove slag, clean the weld surface, and support inspection readiness.
Why Slag Must Be Removed After Arc Welding
To understand why a chipping hammer is used to remove slag, you need to understand what slag does first. In arc welding, especially stick welding (SMAW) and flux-cored arc welding (FCAW), flux-related residue forms a layer over the weld. According to the welding-focused source set, this slag must be chipped away to reveal the clean weld underneath, improve inspection, and support later weld passes.
That makes slag removal more than a cosmetic step. Yes, it improves appearance. Yes, it helps create a more professional-looking weld. But more importantly, it helps prevent you from missing problems. A weld covered in slag can hide uneven bead profile, leftover residue, or conditions that could affect weld quality. Testbook’s explanation is especially direct here: the chipping hammer ensures a clean surface for inspection and further welding passes.
This is where interpass cleaning becomes important. In a multi-pass weld, leftover slag between passes can contribute to poor fusion or trapped contamination. Even when a competitor does not use the exact phrase “slag inclusion” as a standalone heading, the logic is clear: if you want sound welds, you need to remove the hardened residue before moving on. That is why post-weld slag removal steps are not just nice to know; they are part of good welding practice.
You can also think of slag removal as a quality-control habit. If you chip and brush each bead properly, you make it easier to spot flaws early. If you skip that step, you are more likely to carry a problem forward into the next pass. For beginners, that is one of the most useful insights missing from many short SERP answers: a chipping hammer is not only for cleanup, but also for weld defect prevention and better visual inspection.
When a Chipping Hammer Is Used—and When It Is Not
A chipping hammer for SMAW makes perfect sense because stick welding creates slag. The same applies to many FCAW jobs, where slag and residue can form and need to be removed after the bead cools. One competitor says plainly that whether you are working with SMAW or FCAW, the right chipping hammer affects cleanliness, weld quality, and inspection readiness.
But a common beginner question is: Do I need a chipping hammer for MIG or TIG? In most cases, no. Arccaptain’s FAQ says most MIG and TIG welds do not make slag, so a chipping hammer is usually not needed; instead, a wire brush or flap wheel may be enough for light spatter or discoloration. That distinction is extremely important because it tells you when not to use a chipping hammer.
Here is the simplest rule:
| Welding process | Does slag form? | Is a chipping hammer usually needed? |
|---|---|---|
| SMAW / Stick welding | Yes | Yes |
| FCAW | Often yes | Usually yes |
| MIG | Usually no slag | Usually no |
| TIG | Usually no slag | Usually no |
This table summarizes the process-based cleanup logic reflected in the sources: slag-forming processes call for manual slag removal, while MIG and TIG typically call for lighter cleanup methods.
That one clarification alone can make your article more useful than many competitors. A lot of pages say what the tool does, but fewer explain why MIG does not need slag removal and why TIG does not need slag removal in the same way. For searchers trying to understand actual shop practice, that difference matters as much as the definition itself.
Parts of a Chipping Hammer: Pointed End vs Flat Chisel End
A typical welding chipping hammer is a dual-ended tool. One source describes it as having a sharp pointed end on one side and a flat chisel end on the other. That design is not accidental. It gives you two different ways to attack the same problem depending on the weld and the kind of residue you are removing.
The pointed end is useful for tight spots, corners, and areas where slag is stuck in a narrow line. It can also help knock off small spatter deposits. The flat chisel end is better for broader scraping and lifting larger sections of hardened slag from the top of the bead. A welding-focused source also highlights the pointed end for spatter removal in SMAW and FCAW work.
Some versions also include features like a spring handle, rubber grip, or other handle designs meant to improve control and reduce shock. You do not need a complicated model to do basic weld cleanup well, but you do need a hammer that gives you enough control to chip without gouging the weld. That is one reason the tool remains popular even when grinders and powered tools are available: it is simple, direct, and precise in the hands of someone using it correctly.
How to Use a Chipping Hammer Correctly
Knowing how to remove slag from a weld bead matters just as much as knowing what tool to use. Good technique helps you lift residue off the bead without damaging the metal below. Arccaptain’s guidance is especially useful here: hold the chipping hammer at a shallow angle, tap lightly along the edges of the bead, avoid striking straight down on the crown, and use short, controlled strokes.
That advice solves one of the biggest beginner problems. Many people assume harder hits mean faster cleanup. In reality, too much force can create marks, dent the surface, or make you less precise. The better method is to work along the bead, let the edge of the tool lift the slag, and keep your focus on controlled removal rather than brute impact. That is the practical meaning behind the long-tail keyword “how to avoid damaging the weld while chipping.”
A useful routine looks like this:
- Let the weld cool enough to work safely.
- Start at the edge of the slag layer, not the middle of the bead.
- Use the pointed end for tight or stubborn spots.
- Use the flat chisel end to lift wider sections.
- Follow with a wire brush to remove leftover slag or spatter.
That last step matters. One competitor specifically recommends pairing the chipping hammer with a wire brush for best results, and says that on larger or tougher welds, a needle scaler or powered brush can help leave the metal cleaner.
In other words, the hammer does the heavy lifting, but the brush refines the finish. That is why post-weld cleaning tools should be viewed as a system, not as isolated items. A chipping hammer removes the main residue; a wire brush cleans up what is left; a needle scaler or light grinding may help on heavier jobs when needed.
Common Mistakes When Removing Slag
One of the biggest content gaps in the SERP is a real discussion of common mistakes when removing slag. Competitors hint at the issue, but it deserves its own section because bad cleanup can affect both appearance and evaluation. The most common mistake is using too much force. When you hit too hard, you are no longer simply breaking away residue; you are risking marks on the weld or surrounding metal.
Another mistake is striking directly down on top of the bead instead of working from the edge. That makes it easier to scar the weld crown instead of lifting the slag cleanly. A third mistake is stopping too early. If you chip only the obvious pieces and skip brushing, tiny bits of residue may remain and make the weld look cleaner than it really is. That can hurt weld inspection and makes the surface less ready for any later work.
A fourth mistake is using the hammer where it does not belong. If you are cleaning a typical MIG or TIG weld that has no slag, a chipping hammer is often unnecessary and may be more aggressive than needed. In that case, a lighter cleanup method is usually the smarter choice. This is why matching your cleanup tool to the welding process is one of the most useful habits a beginner can build.
So, can a chipping hammer damage a weld? Yes, it can—if you use the wrong angle, too much force, or the wrong tool for the process. But when used properly, it is one of the most efficient and practical tools for weld bead cleanup in slag-forming welding.
Chipping Hammer vs Wire Brush vs Grinder vs Needle Scaler
A lot of beginners assume these tools do the same job. They do not. A chipping hammer vs wire brush comparison starts with this fact: the hammer breaks off the hardened layer, while the brush cleans away what remains. If slag is thick and solid, the brush alone may not do enough. If only light residue is left, the brush may be all you need after the hammer.
A chipping hammer vs grinder comparison is about control versus aggression. A grinder can remove material quickly, but that speed comes with a higher risk of taking off good metal if you are careless. For delicate cleanup right on the bead, the hammer is often the safer first choice. When slag is extremely stubborn or when you need a different type of cleanup, light grinding can support the process, but it should not automatically replace the hammer.
A chipping hammer vs needle scaler comparison is about precision versus speed. Arccaptain notes that a needle scaler can help on large or difficult welds. That makes sense, especially in heavier cleanup situations. But for many standard welds, the hand-held chipping hammer still offers better feel and more direct control over exactly where force is applied.
Here is the easiest way to choose:
| Tool | Best use | Main advantage | Main limitation |
|---|---|---|---|
| Chipping hammer | Breaking hardened slag | Precise, simple, direct | Can mark weld if used badly |
| Wire brush | Final cleanup of residue/spatter | Good finish, low aggression | Weak on thick slag |
| Grinder / flap wheel | Tough cleanup or finishing | Fast material removal | Can over-remove metal |
| Needle scaler | Large or stubborn cleanup jobs | Fast on heavy residue | Less delicate than hand tool |
That framework gives readers a practical decision model, which most competitor pages only imply rather than fully explain.
Safety Tips When Using a Chipping Hammer
Because a chipping hammer sends off hard fragments of slag and metal, safety matters. Across the competitor set, the clearest protective items include safety glasses, goggles, face shield, welding helmet, heat-resistant gloves, and ear protection. You do not need every item in every situation, but you do need to protect your eyes and hands at a minimum.
The main risks are simple: flying particles, hot residue, sharp edges, and accidental tool slips. That is why how to use a chipping hammer safely starts with body position and control. Keep the work stable, keep your face out of the line of impact, and chip with controlled strokes rather than wild swings. Precision is safer than force.
It also helps to think ahead. If you know the weld will need brushing after chipping, have the wire brush ready. If you know the weld is large and may require a needle scaler or light grinding, plan that before you start instead of improvising halfway through. A safer cleanup process is usually a more efficient one too.
Can a Chipping Hammer Be Used Outside Welding?
Yes—but this is where search intent gets messy. Not every page using the term “chipping hammer” is talking about welding. One source from APT uses the term in a broader industrial sense, including cleaning welds, cutting through sheet metal, removing residue, stripping rust, old paint removal, and other maintenance tasks.
Another source, Kreo, defines a chipping hammer as a masonry tool used by masons to chip excess material from blocks, bricks, stones, or tiles, sometimes with tungsten carbide capping for durability. That page is about construction projects, not weld cleanup.
So if you are writing for the keyword “the chipping hammer is used to”, the best move is to clarify the dominant meaning. In a welding context, the chipping hammer is used to remove slag from the weld bead. In a masonry context, it may be used to trim and shape hard materials. Mentioning that difference briefly helps your content cover SERP ambiguity without losing the main informational intent.
Quick FAQ
The chipping hammer is used to do what exactly?
It is used to strike and remove hardened slag from the surface of a weld bead after arc welding, especially in SMAW and FCAW work.
Is a chipping hammer only for stick welding?
No, but it is most strongly associated with stick welding and other slag-forming processes like some FCAW applications.
Can it remove spatter too?
Yes, some sources note that the pointed end can help remove spatter, especially in arc welding cleanup.
What tool should you use after the hammer?
A wire brush is the most common next step for removing leftover slag or spatter and improving the finish.
Do I need a chipping hammer for MIG or TIG?
Usually not. Most MIG and TIG welds do not create slag, so a brush or other light cleanup tool is often more appropriate.
Conclusion
So, if you want the cleanest possible answer, here it is again: the chipping hammer is used to remove slag and residue from a weld bead after arc welding. It is most useful in stick welding (SMAW) and flux-cored arc welding (FCAW), where slag forms and must be removed for inspection, appearance, and any further passes.
The better, more complete answer is that the tool also supports weld quality, interpass cleaning, and smarter post-weld cleanup when used with good technique. Use the pointed end and flat chisel end with control, follow with a wire brush, and avoid using the tool where it is not needed, especially on typical MIG and TIG welds. Done right, a chipping hammer is still one of the simplest and most useful tools in basic welding practice.